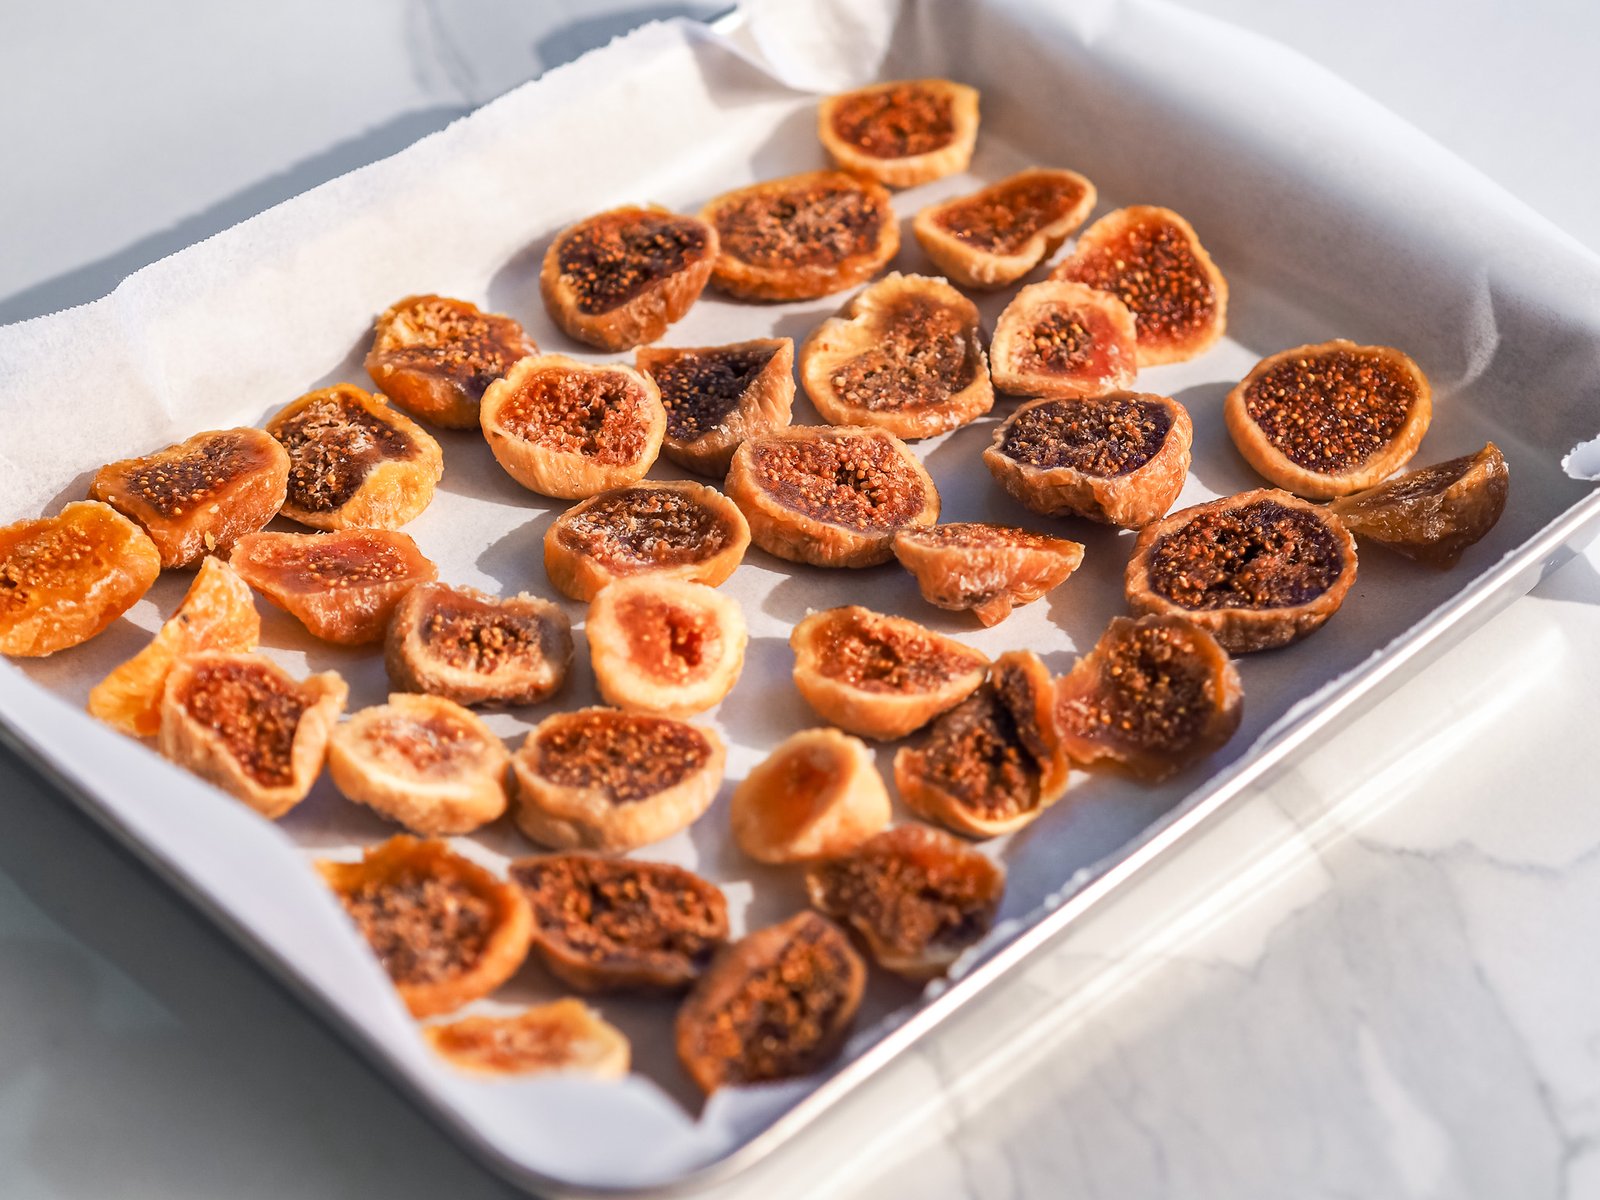
Vegan Pastry Academy
Fig, Peanut and Chocolate Snack

Fig, Peanut and Chocolate Snack

Free
  • Difficulty: Low
  • Time: 30 min (plus resting time about 30 min)
  • Quantity: 12 pieces
  • Type: Snacks and Small Pastries
  • Dietary requirements: Gluten-free Cream-free Sugar-free Vegan

Categories

Fruit Desserts Raw No-Bake All_year_round

Ingredients

250 g dried figs
150 g peanut butter
7 g freeze-dried raspberries, pieces
50 g pistachios
A pinch of flaky salt
250 g dark chocolate
I created these snacks to use up leftover chocolate from Easter eggs ๐Ÿซ I wanted something simple, tasty but a bit "cleaner": no added sugar, only dried fruit, nuts and dark chocolate. They are soft, slightly chewy thanks to the figs, creamy from the peanut butter and with that crunchy chocolate coating on top.

Method

1 Photo 1 โ€” step 1
2 Photo 2 โ€” step 1
3 Photo 3 โ€” step 1
Take a baking tray about 24 ร— 18 cm and line it with baking paper. 
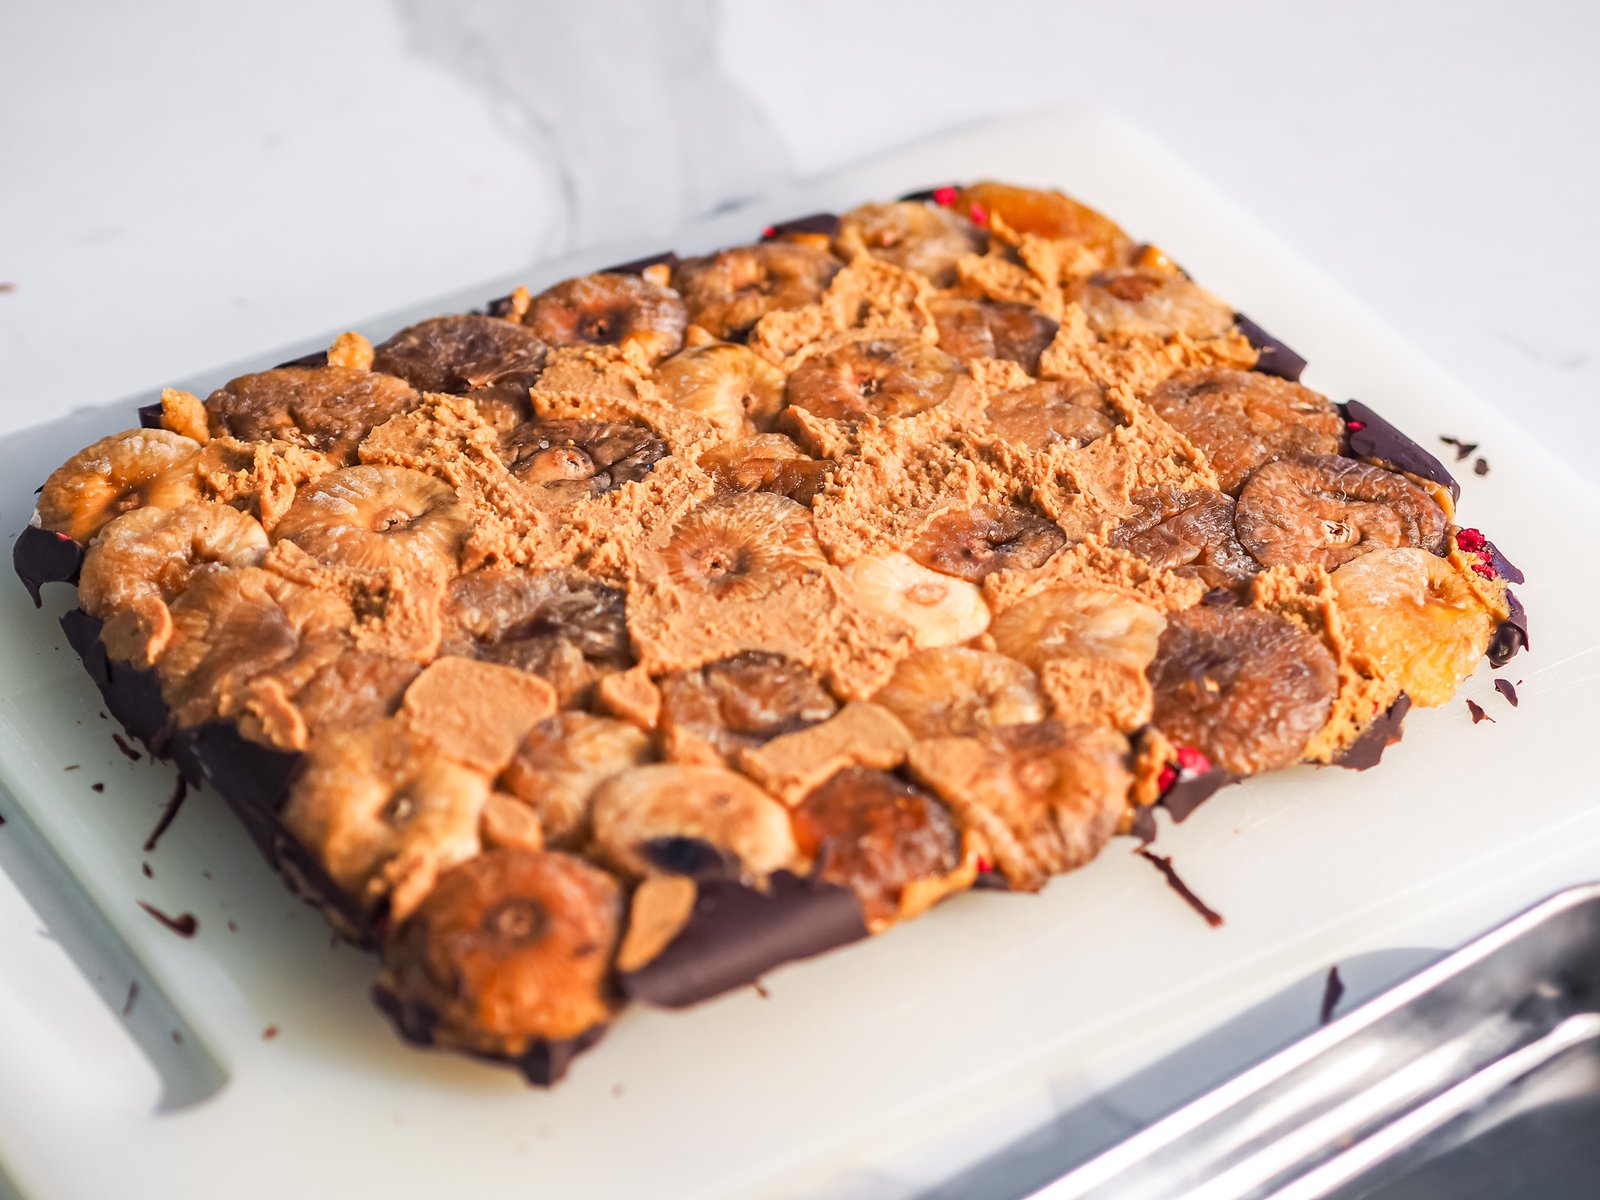
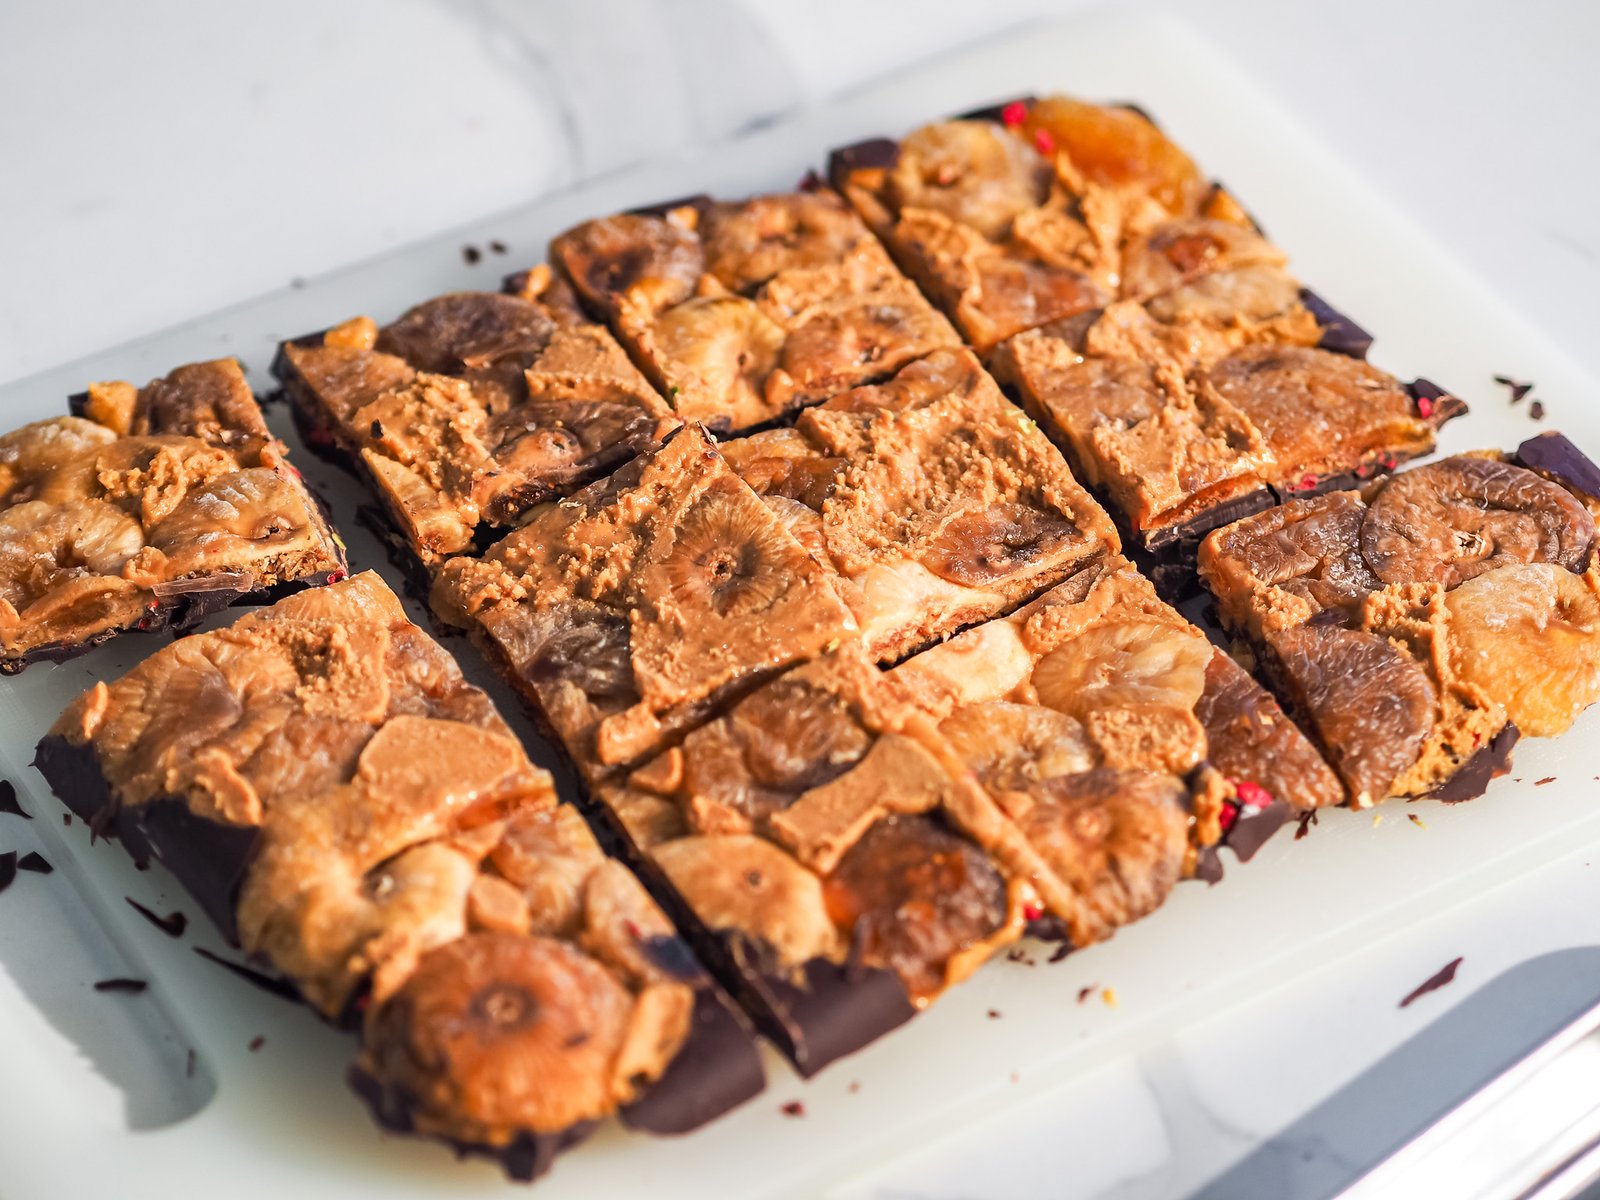
Take the dried figs, remove the stems and cut them in half. Arrange them cut-side up until the entire surface is covered. 
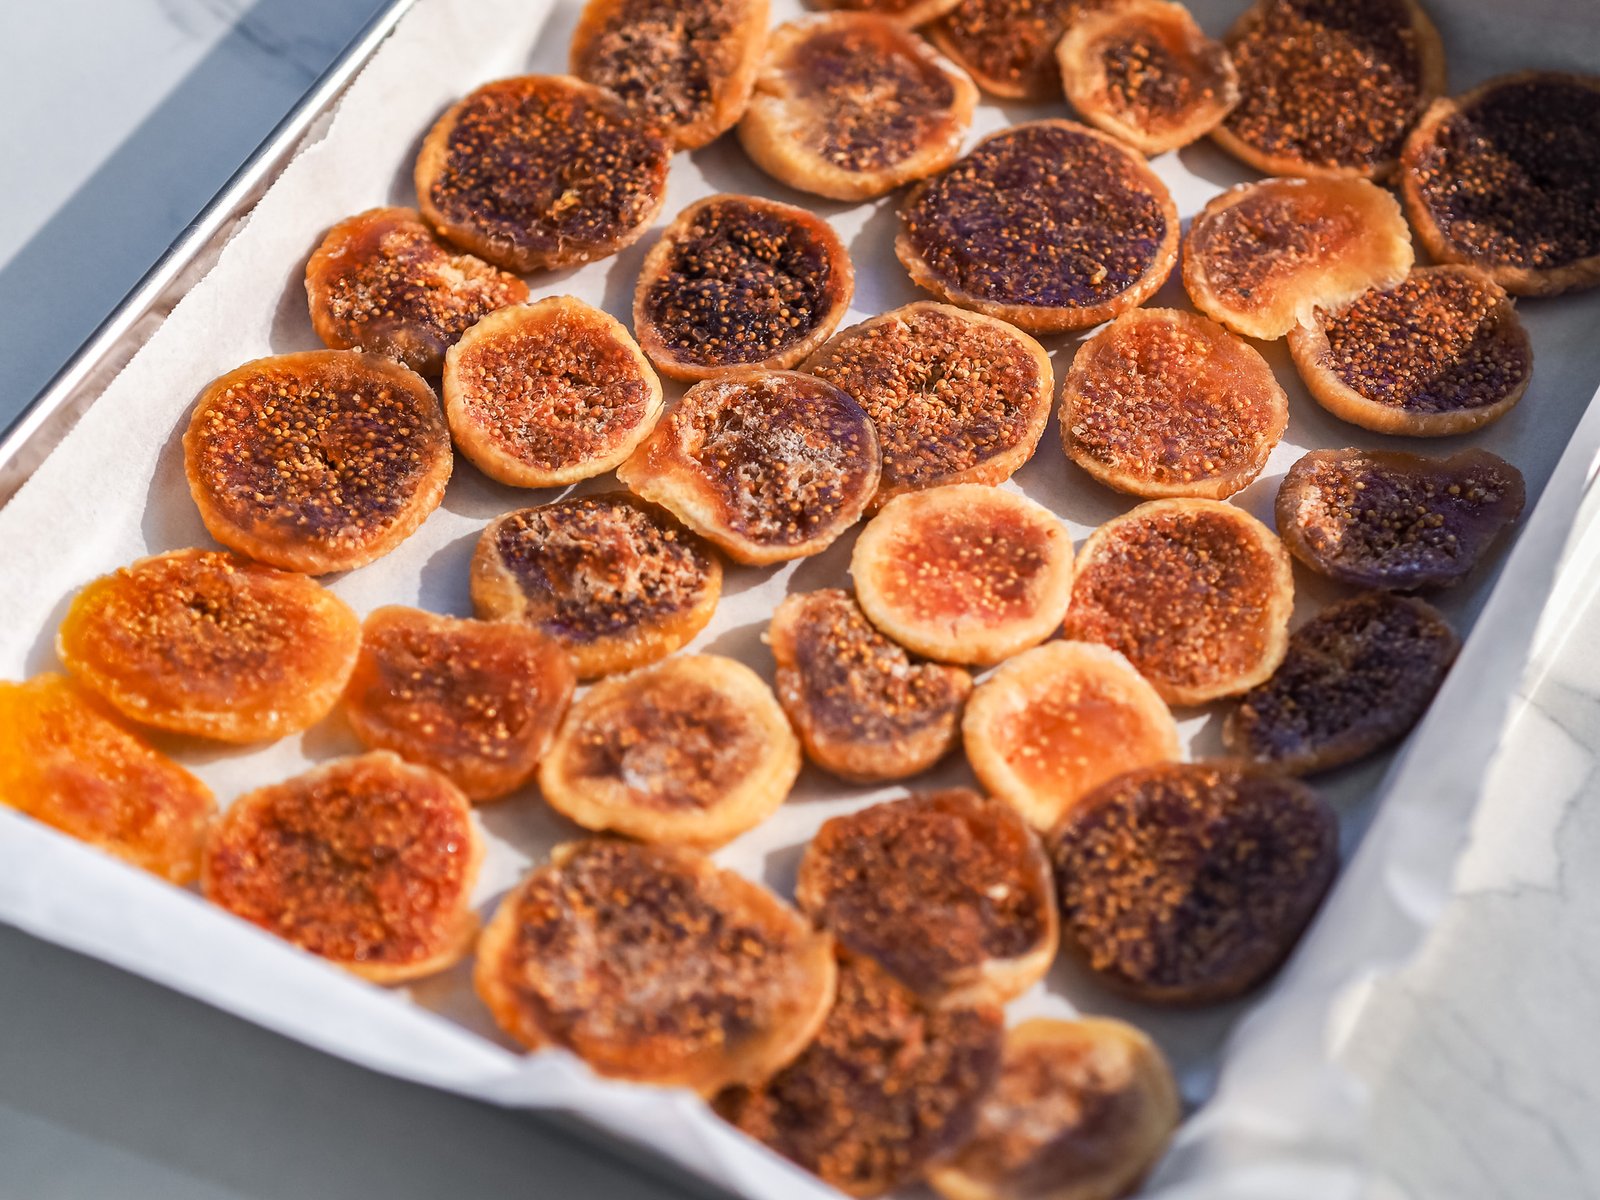
Open them slightly with your fingers to create a more even base. Cover with another sheet of baking paper and press gently. Then roll with a rolling pin until you obtain a compact and even layer. 
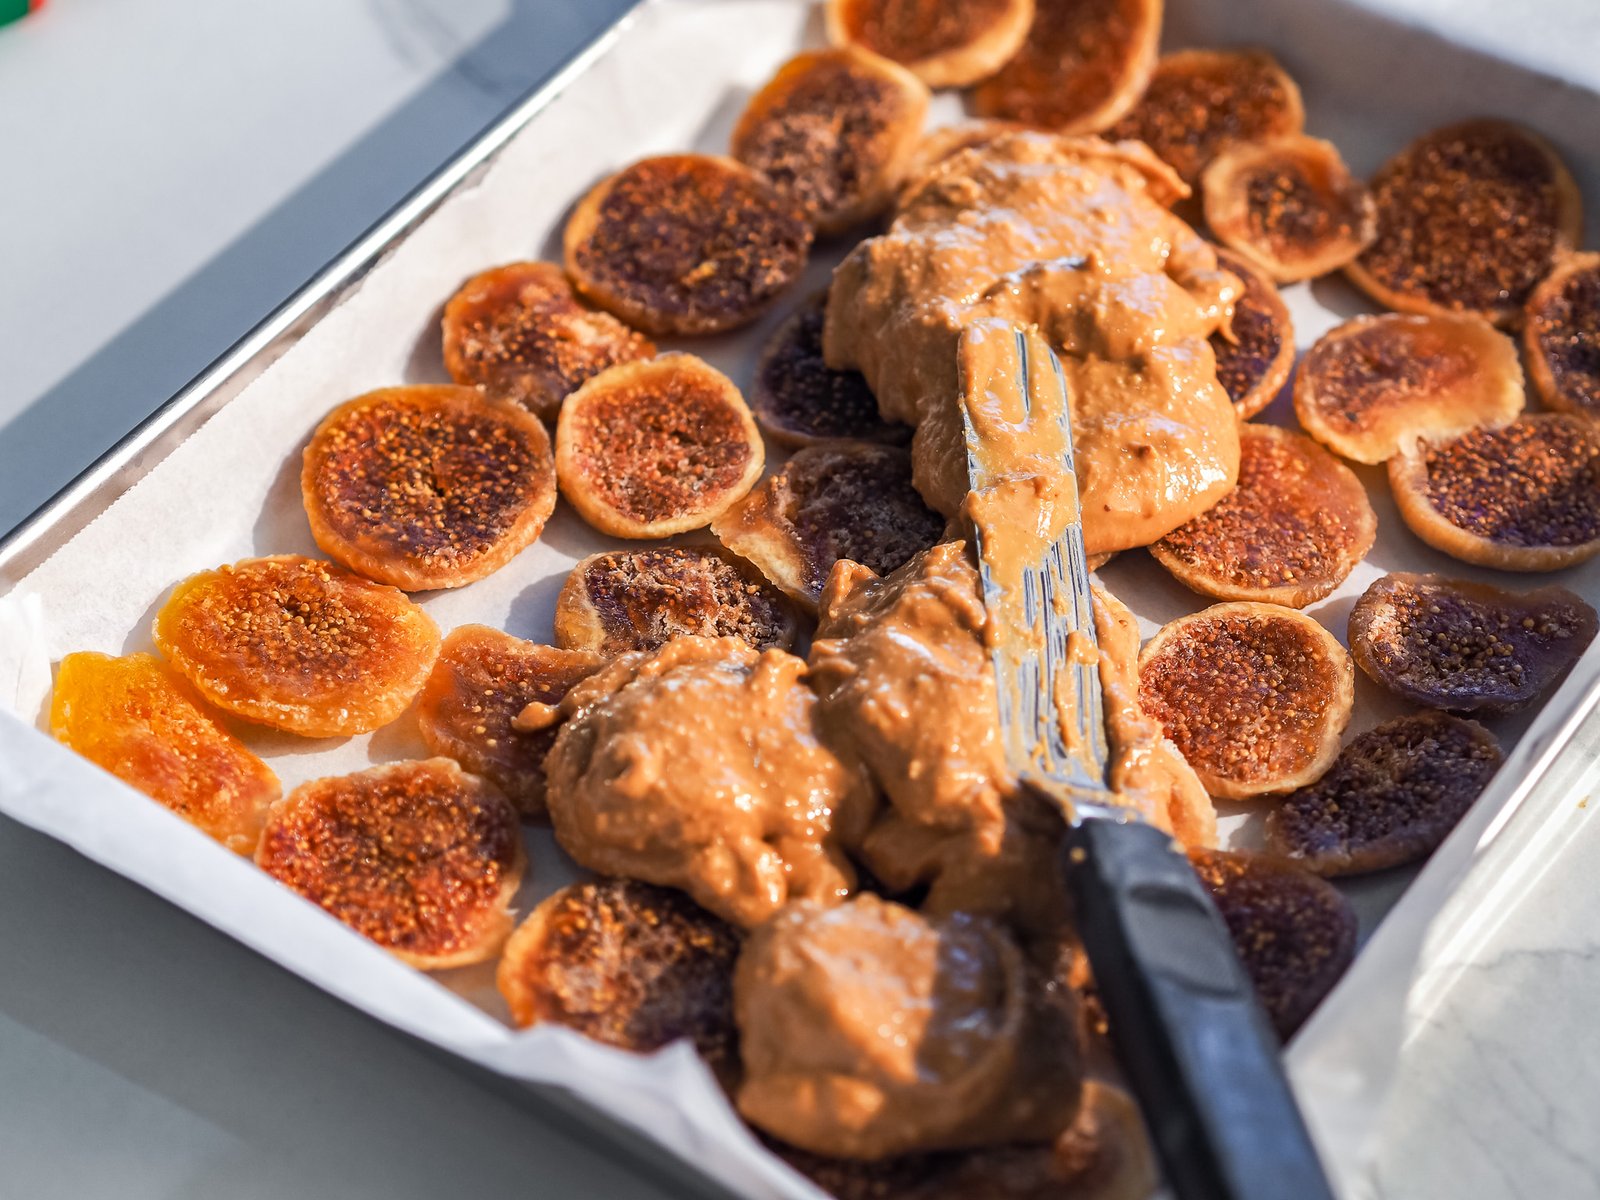
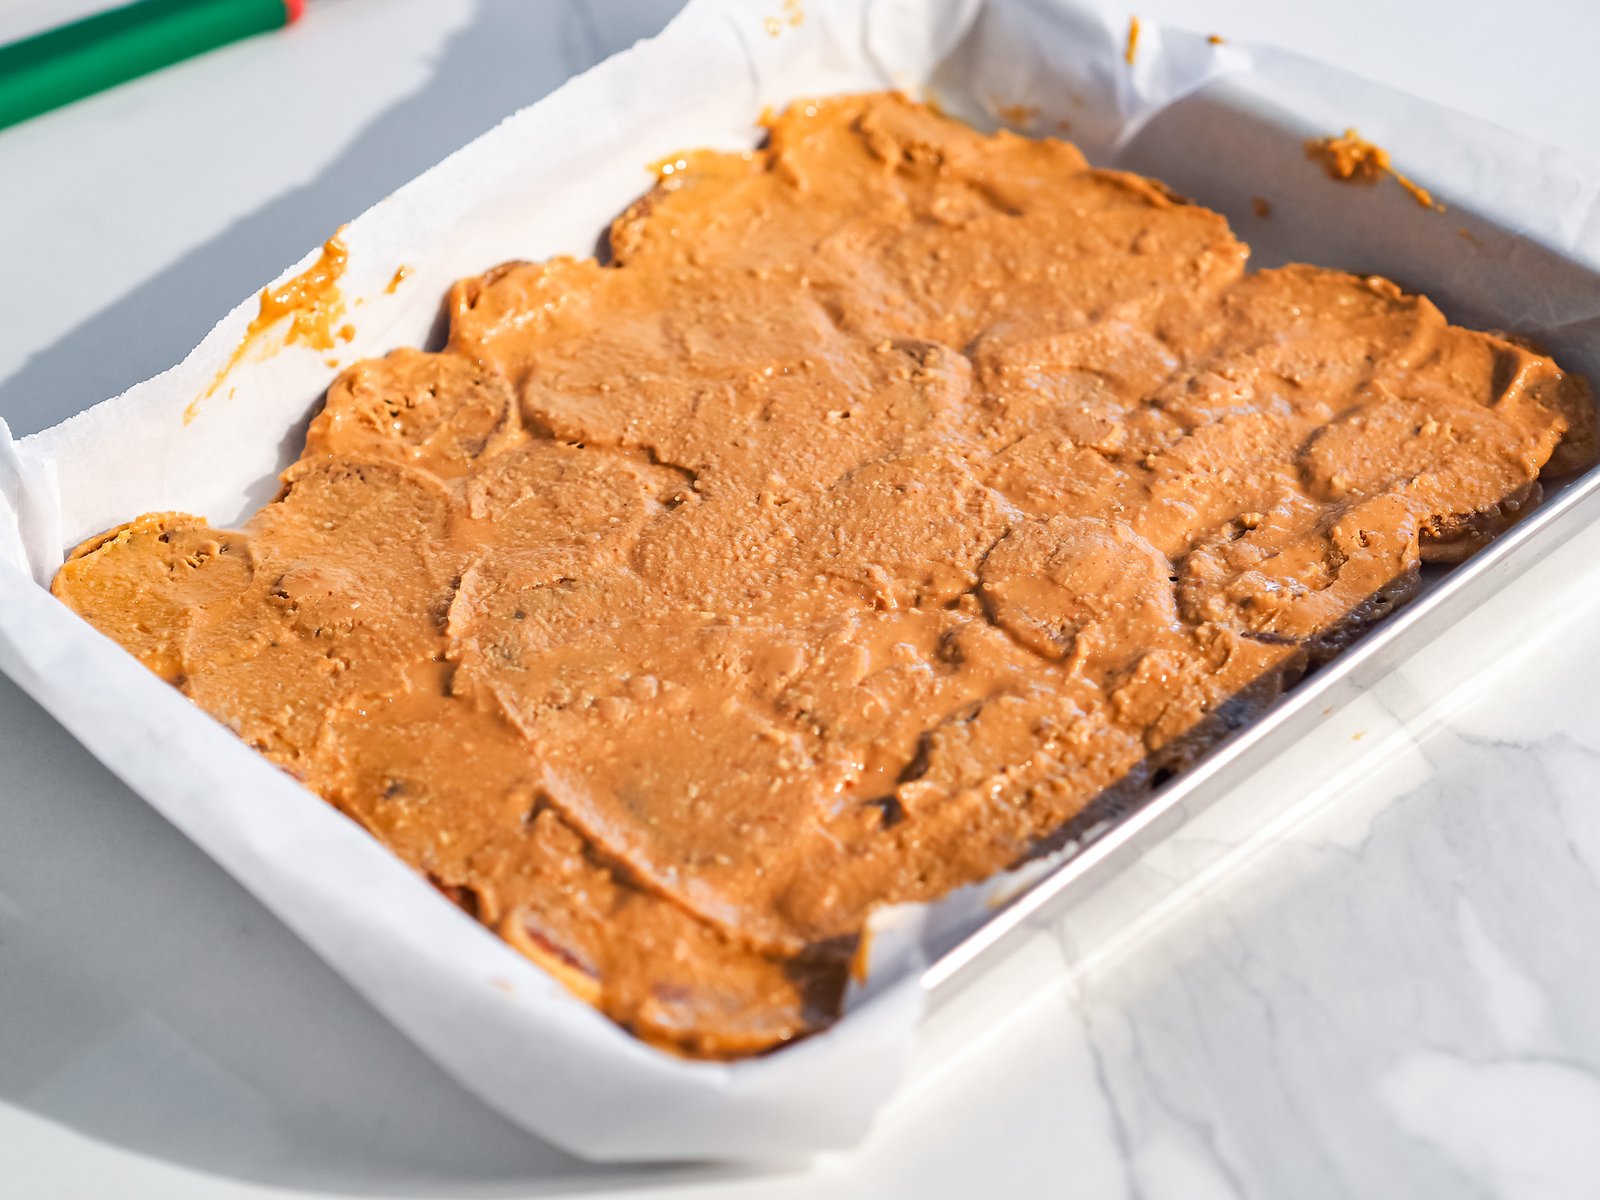
Return it to the tray and remove the baking paper on top.
4 Photo 4 โ€” step 2
5 Photo 5 โ€” step 2
6 Photo 6 โ€” step 2
Now add the peanut butter. I use crunchy so it also gives some texture. Spread it well with a spatula covering the entire surface. Then add the freeze-dried raspberries to give some acidity and pistachios for crunch. Finish with a pinch of flaky salt, which enhances the flavor.
7 Photo 7 โ€” step 3
8 Photo 8 โ€” step 3
9 Photo 9 โ€” step 3
Now melt the dark chocolate, in the microwave or in a bain-marie. It must be completely melted and smooth, without lumps. Pour it on top and spread it evenly, covering the entire surface well. Place in the fridge for at least 30 minutes, until the chocolate is completely set.
10 Photo 10 โ€” step 4
11 Photo 11 โ€” step 4
12 Photo 12 โ€” step 4
When ready, take it out and invert it onto a cutting board. Remove the baking paper. With a long, sharp knife cut into portions. I divide the short side into 3 parts and the long side into 4, yielding 12 squares, but you can make them any size you prefer. The snack is ready.

Storage

Store in the fridge in a container for up to 2 weeks.

Tips

I chose to use figs, but you can make this snack with dates as well. They are softer, so also easier to spread. It is recommended to read these articles: - which ingredients to use - where to buy pastry ingredients and products

Comments

Share your result, a question or a photo of the recipe.

No comments yet.